Saturday, June 11, 2016

The Gems of power - Part 2


Part 1.

She was dressed in a splendid pink and white dress, with a gold crown on her head. The staff in her hand glowed. But her face was what scared me, even more than the armed warriors on either side. It burned with fury.  

She muttered something and pointed her staff at the unicorn. There was a flash of light and I went flying. I hit the ground with a thud that took my breath away.  

When I had regained my breath, they had the unicorn tied down, and I vaguely thought that I should name it, but I put it aside, there were other things to deal with. The lady I suspected that was Queen was approaching, still glaring. 

"Stop!" I cried, stumbling to my feet and rushing forward. "Why are you doing this?"

The lady turned, and said, "Who are you to interrupt a Queen?" So I was right. "Please, let her go your majesty." My voice was barely more than a whisper. 

"Besides, what did she do to you? That you can treat her like this!" 

"Well, if you must know,...." She said in an icy tone, but then she paused. 

"This unicorn destroyed my kingdom, just the other day."
****************************************************************
Dun, dun, DUN! Next part on saturdaaaaaay! 
I am so evil. >:D
Tell me what you think! 

Friday, June 10, 2016

Doll dining - part 2 - setting the table part 2


Hi! I took a pic from yesterdays post, to remember what we're working on. :)


 You can get a mini vase, fill it with real or fake flowers, and paint a cork white, with a paper flame, but I haven't finished mine yet.
For the menu, you will need:
1. Scrapbook paper
2. A marker
3. A pen, ruler, and scissors

Step 1. Pick a scrapbook paper that has a white background, if not, you can glue some regular paper to it.

Step 2. cut out 4"- 9", and fold it like in the picture, so.....

......you can fold it up like this.

Step 3. On a different piece of scrapbook paper, write 'menu' cut it out, and glue it to the front of your menu. Or you can use sticker letters.

Step 4. Open it up, and write the categories in it for the food. You can fill in the food as we make it.
You are done!

For the table tent, you will need:
1. Card stock
2. Markers
3. A ruler and scissors

Step 1. Cut a strip 1 1/2" wide off the short end of your card stock.

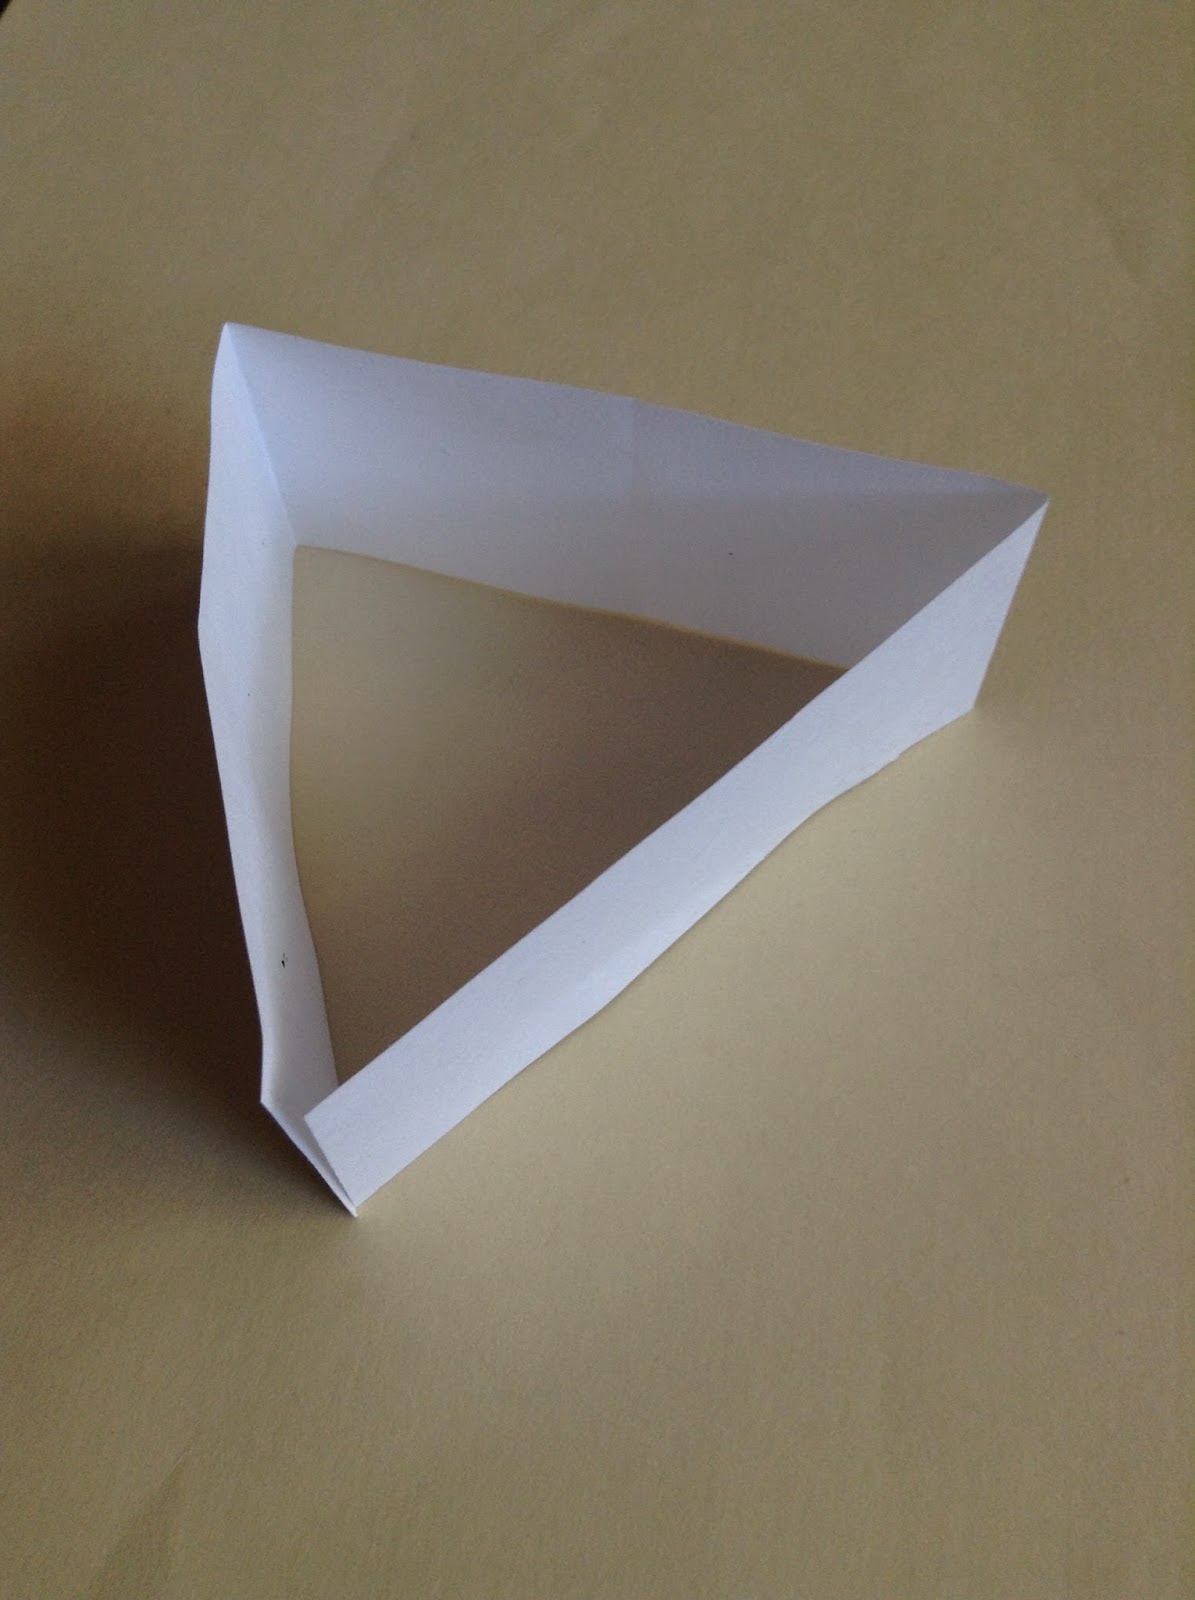
Step 2. Fold it into a triangle....

...spread it back out, and decorate with markers, advertising desserts. 

Now tape it back into a triangle, and you're done!

*In a announcer voice* And tomorrow, The Gems of power!

Thursday, June 9, 2016

Doll dining - part 2 - setting the table part 1


Aaaaaaand we won't make booths because I don't have any cardboard. (How can I not have cardboard?!) Any way, hi! How's your day going? Since we can't make booths we are going to set the table, only part of it though. The rest will come soon. :)


 This is how I set my table. I have no clue why I set it for one person. 

That's better! I also changed the napkins, now they don't blend in so much. 

The place mats are felt, 6"- 4". The silverware.... you're on your own. As you can see, I only have spoons. 

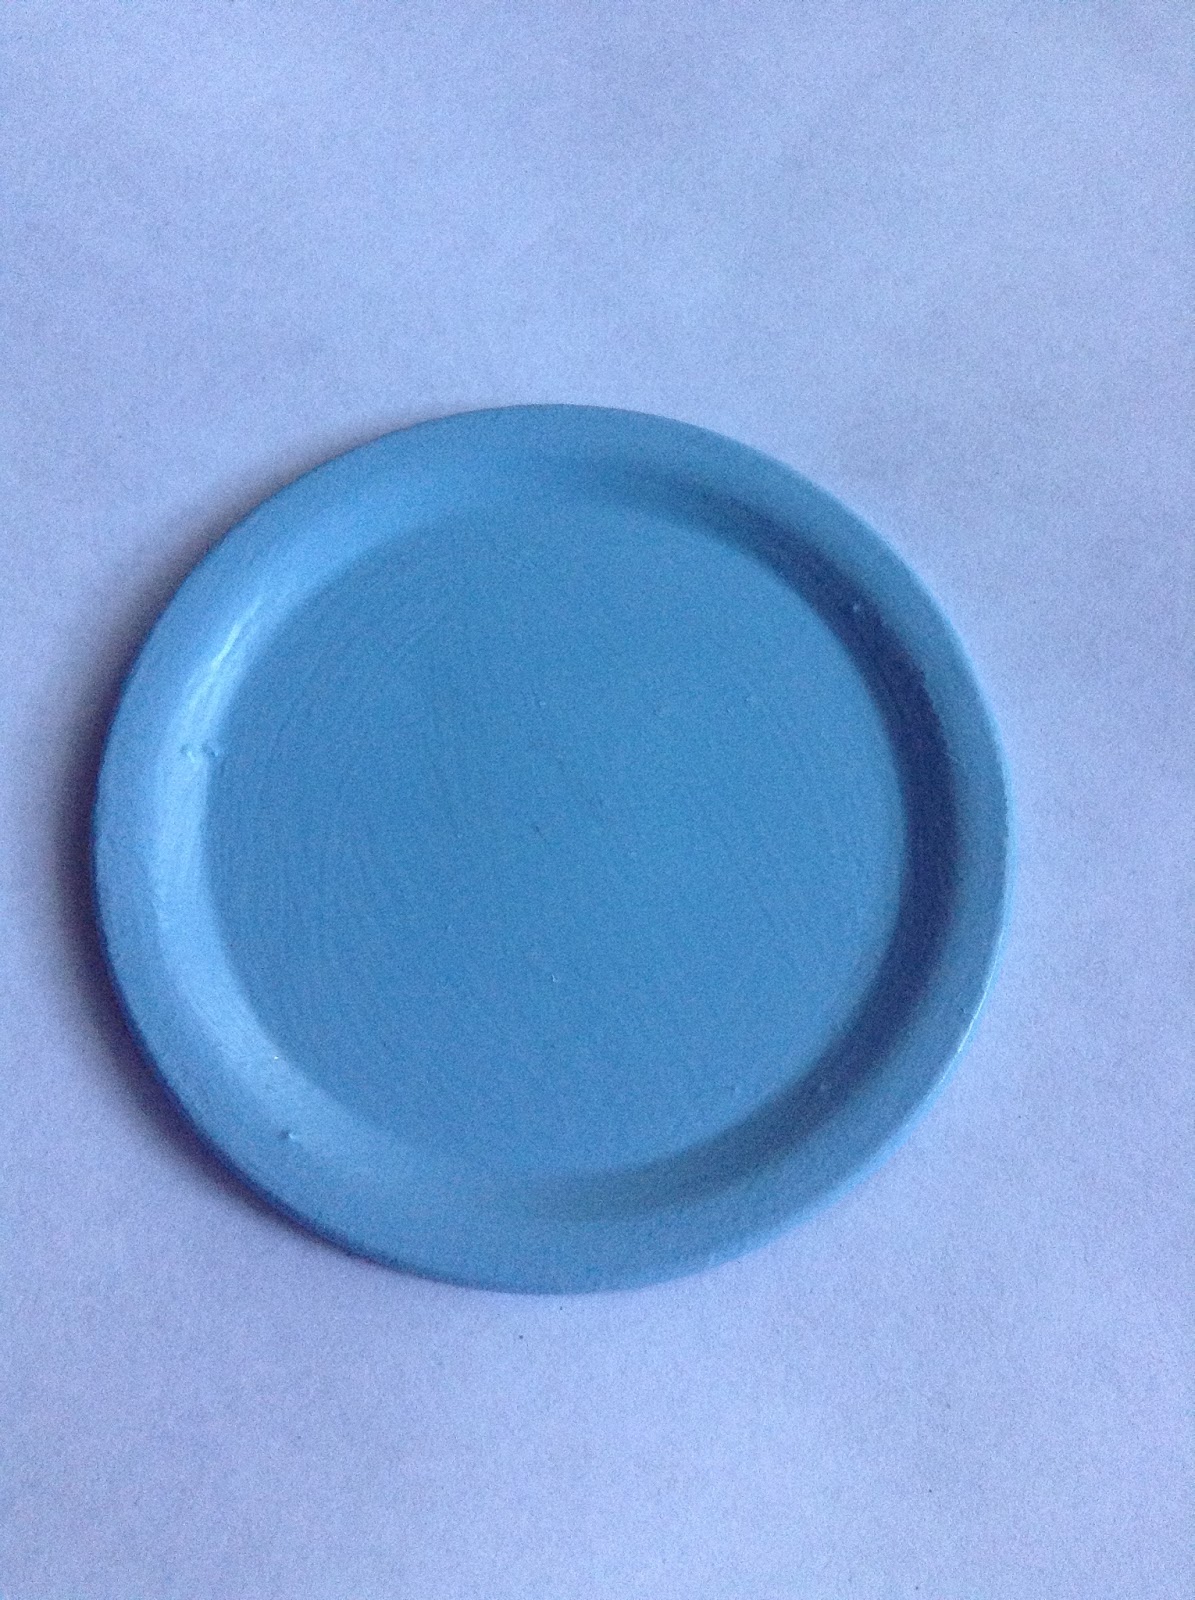
For the plate, you will need:
1. Canning lids
2. Paint
3. Mod podge

Step 1. Paint the lid to match the color scheme in your restaurant. I used light blue because I don't have any white or pink paint. It also looks pretty nice. 

Step 2. When it has dried, add two or three layers of mod podge, and you're done! 

For the napkins, you will need:
1. Fabric
2. Stickers (optional)
3. Scrapbook paper 
4. A ruler and scissors 

Step 1. Cut a square of fabric 4"- 4". Put a sticker in the corner if you want.

Now just wrap a strip of scrapbook paper around it for a napkin ring. 

You're done!
You might get some posts on what is happening now, because Hazel is coming tomorrow! Don't worry, The Gems of power is still coming on saturday! 
Bye!

Wednesday, June 8, 2016

Doll dining - a craft series - part one


Hello! I think my favorite thing to craft is doll food. It's so cute! And now you are gonna get to craft a lot of it! Yay! :)
So first, Kit and Ruthie are taking you down town to a new...
*
*
*
*
*
*
*
*
*
*
*
*
*
*
*
*
*
*
*
*
*
*
*
*
*
*
*
*
*
*
*
Restaurant that is opening soooon! (Fuzzy pics, boo hoo hoo! X( ) 
 (All your dolls squeal and hop up and down like crazy)
And the outfits are so cute I just HAD to show you a closer look. :)

I made this before I had a blog, so I didn't take any pictures. It's just a sheet of foam board and I cut a door and windows, painted it, and for some reason didn't add a door knob. I put plastic packaging and flower vase stickers in the windows.
I made the sign out of foam board that I cut out of the windows, and I decorated it with silver pen. I used the rest of what I cut out from the windows to stand the restaurant up.  

I painted an iron fence and purple flowers on it.

Do you shop at Costco? If you do, finding tables will be a lot easier. I just helped myself to those big metal watcha-ma-call-its that they collect all the empty boxes in. If you get boxes like this... 

Flip them over, add a table cloth, (or a pillowcase,) and viola! Perfect table.
(i forgot to add a tablecloth. Ironic, isn't it?)  

Put some chairs around it, or we will be making booths tomorrow. 
Bye!


Tuesday, June 7, 2016

Country gal - a photo shoot


Hi! Oy, lately every thing I post is last minute. I will get to work on a new craft series after I post this. It will include a lot of stuff. I took theses pics this morning, because I woke up thinking 'oh heck, what will I post today?' So as soon as mom got up I grabbed Kit and took her outside... 


                                                                 Sleepy girl. :)


 Rock-a-bye baby, in the tree tops... 
Mama! 
What?
Don't do that!
Why?
Because I'm not a baby anymore.
Ok. Rock-a-bye big girl, in the tree tops...
Now you're doing that on purpose. 
Hee hee hee hee....


(Rock-a-bye big girl, in the tree tops...)

Bonus pics of trees and pretty sky. :)


Bye!
Bye!