Hi! I took a pic from yesterdays post, to remember what we're working on. :)

For the menu, you will need:
1. Scrapbook paper
2. A marker
3. A pen, ruler, and scissors
Step 1. Pick a scrapbook paper that has a white background, if not, you can glue some regular paper to it.

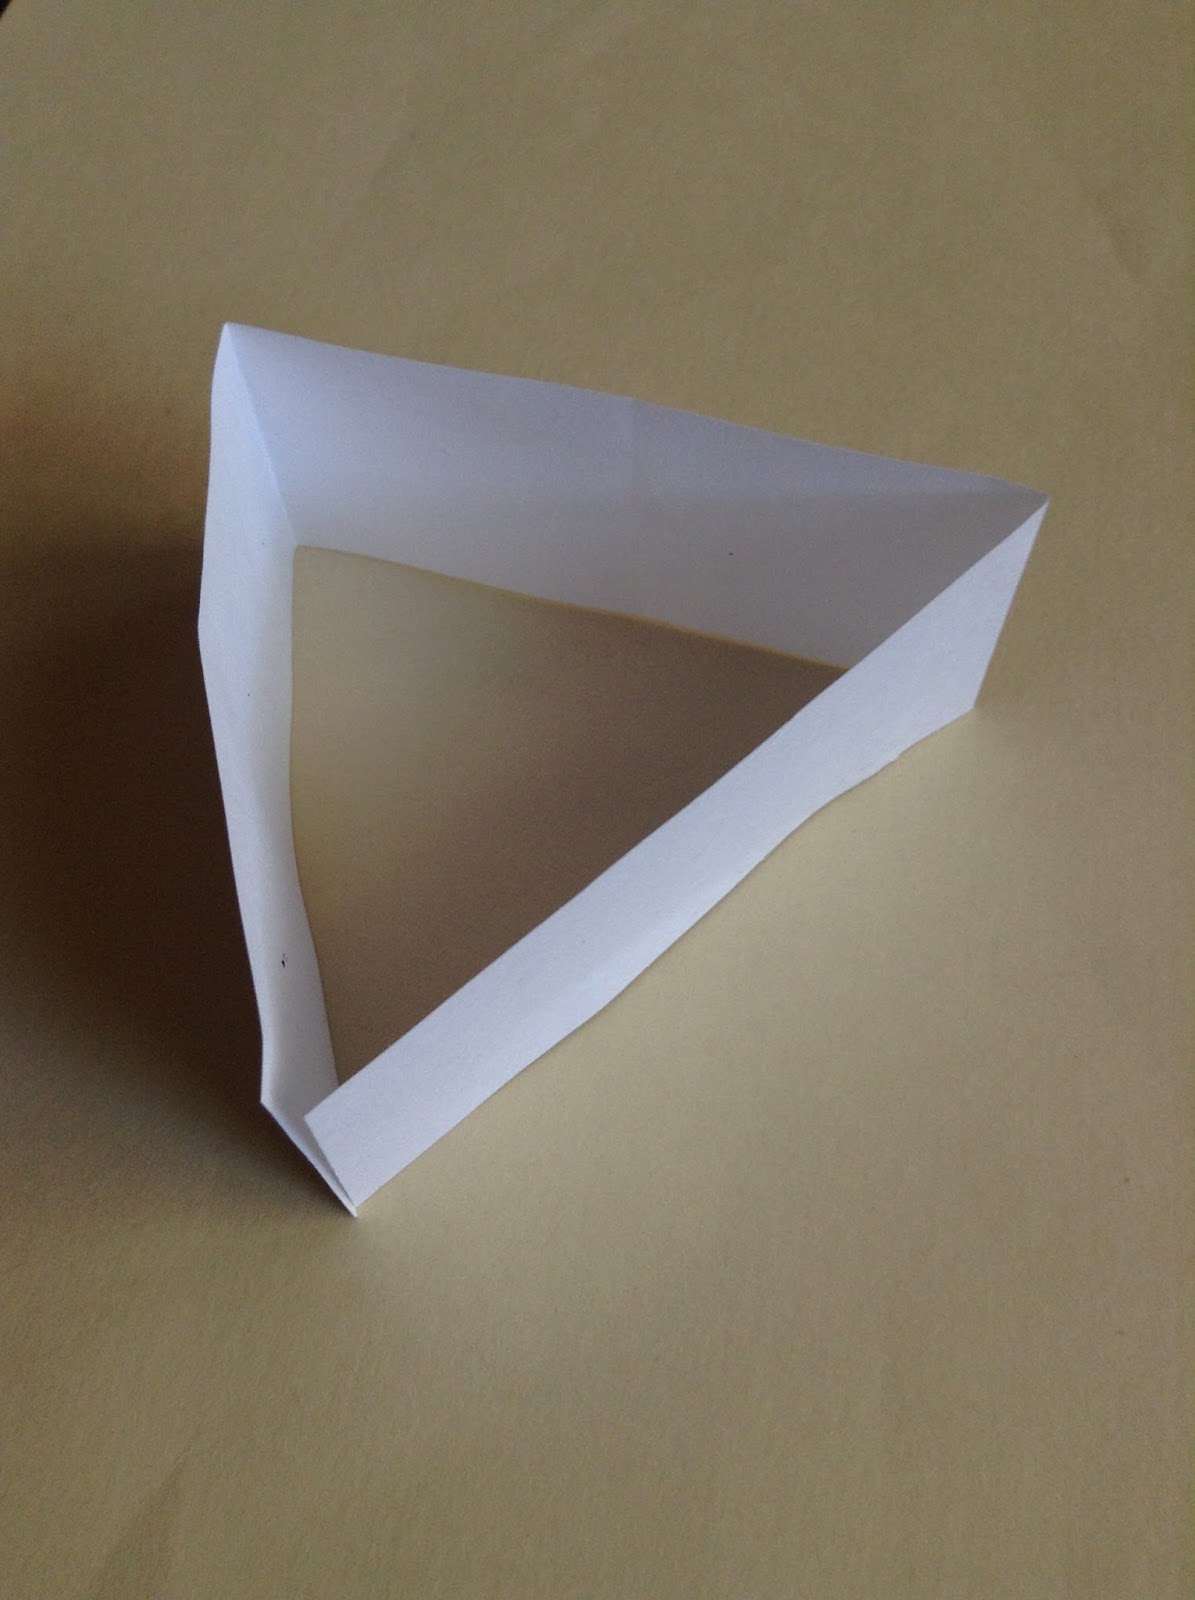
Step 2. cut out 4"- 9", and fold it like in the picture, so.....

......you can fold it up like this.

Step 3. On a different piece of scrapbook paper, write 'menu' cut it out, and glue it to the front of your menu. Or you can use sticker letters.

Step 4. Open it up, and write the categories in it for the food. You can fill in the food as we make it.

You are done!
For the table tent, you will need:
1. Card stock
2. Markers
3. A ruler and scissors
Step 1. Cut a strip 1 1/2" wide off the short end of your card stock.

Step 2. Fold it into a triangle....
...spread it back out, and decorate with markers, advertising desserts.

Now tape it back into a triangle, and you're done!

*In a announcer voice* And tomorrow, The Gems of power!
Super cute!!! I will have to make it! <3
ReplyDeletethanks :)
Delete