Aaaaaaand we won't make booths because I don't have any cardboard. (How can I not have cardboard?!) Any way, hi! How's your day going? Since we can't make booths we are going to set the table, only part of it though. The rest will come soon. :)


The place mats are felt, 6"- 4". The silverware.... you're on your own. As you can see, I only have spoons.
For the plate, you will need:
1. Canning lids
2. Paint
3. Mod podge
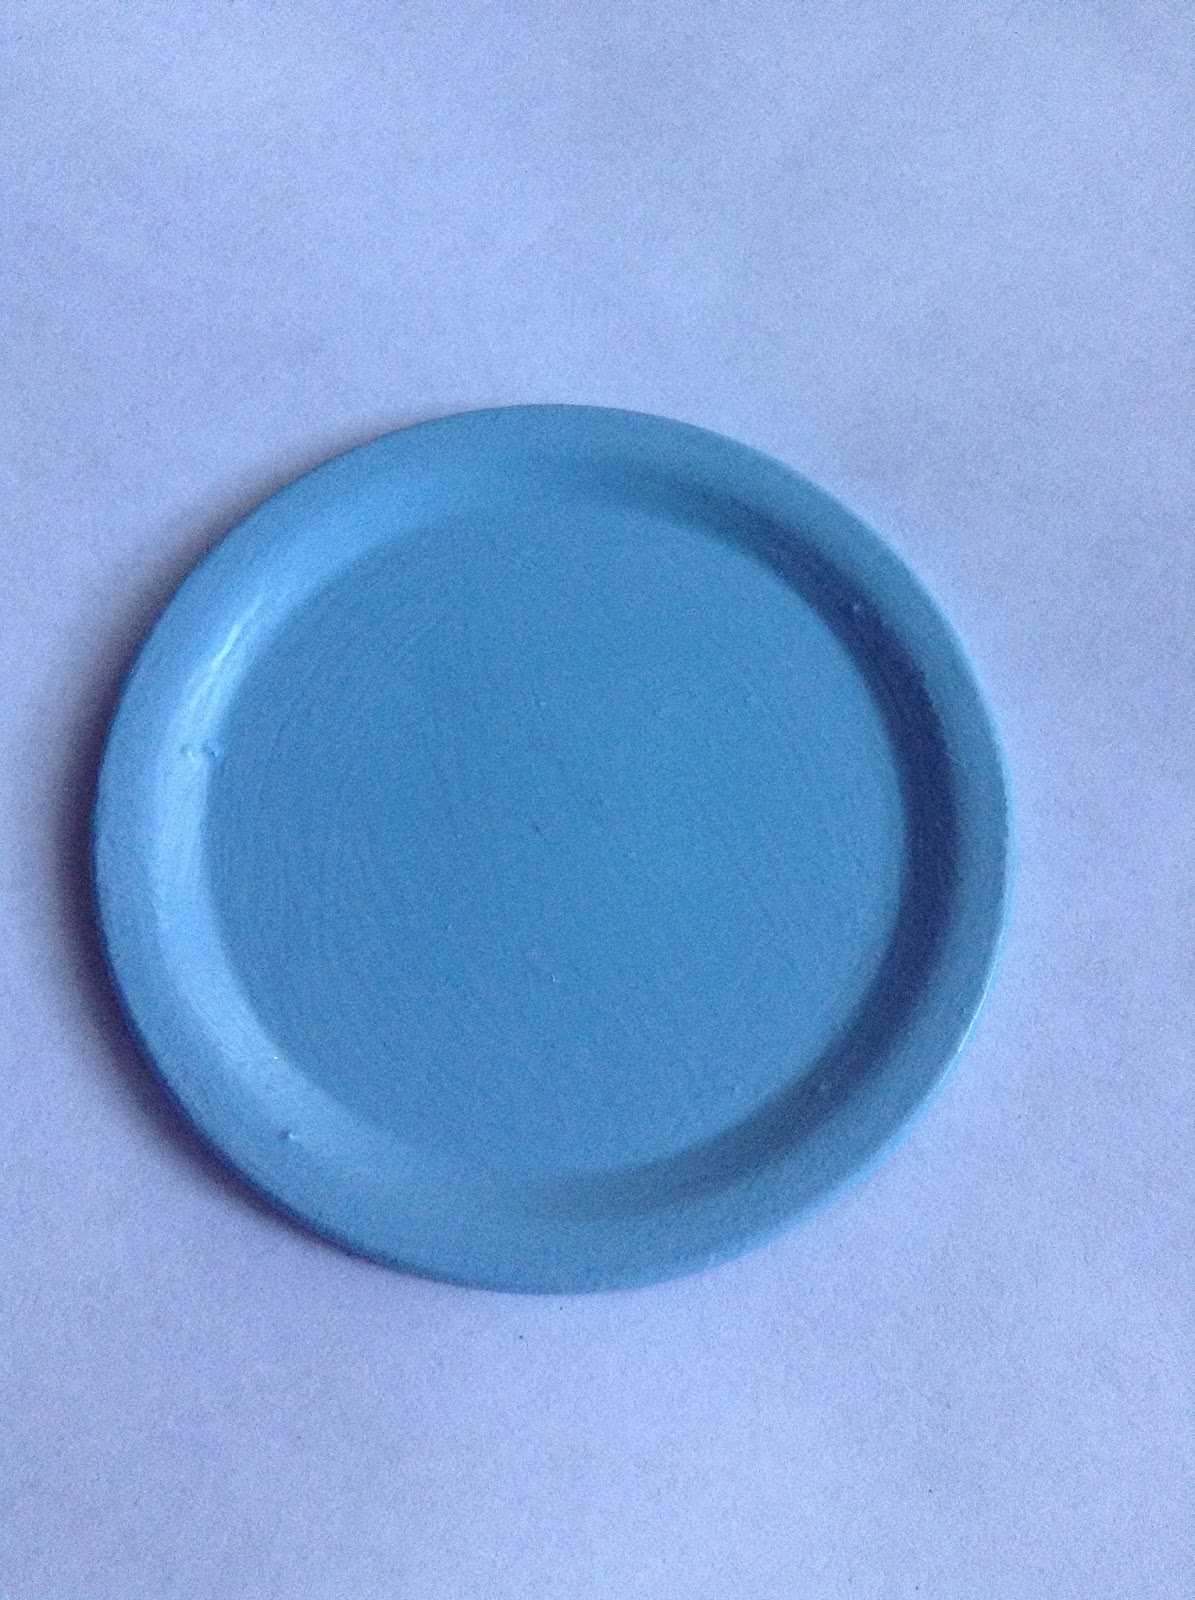
Step 1. Paint the lid to match the color scheme in your restaurant. I used light blue because I don't have any white or pink paint. It also looks pretty nice.

Step 2. When it has dried, add two or three layers of mod podge, and you're done!
For the napkins, you will need:
1. Fabric
2. Stickers (optional)
3. Scrapbook paper
4. A ruler and scissors
Step 1. Cut a square of fabric 4"- 4". Put a sticker in the corner if you want.

Now just wrap a strip of scrapbook paper around it for a napkin ring.

You're done!
You might get some posts on what is happening now, because Hazel is coming tomorrow! Don't worry, The Gems of power is still coming on saturday!
Bye!
Great crafts <3
ReplyDeletethanks!
Delete